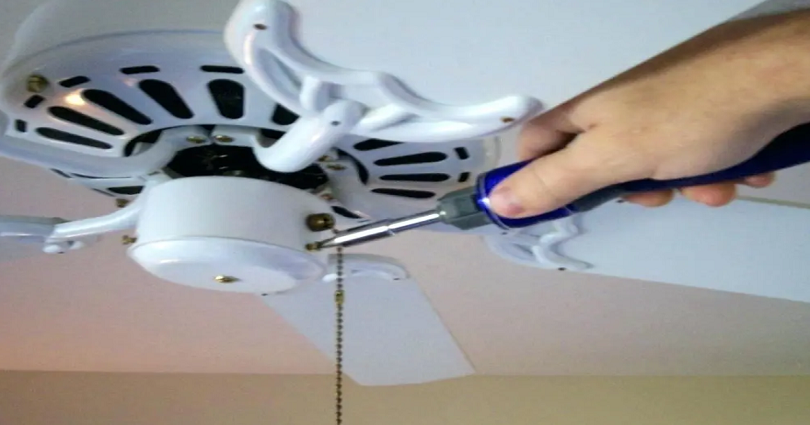
So, you have made the decision to add a light kit to your Hunter ceiling fan?
Adding a light kit fulfills the lack of lighting in the room but it also gives rise to the beauty of the room. A light kit by Hunter fan can kill two birds with one stone and this accessory is very important in this regard. Hunter fan with light can enlighten the dark room and add a cooling effect to your space. if you do not know that you can warm a room in the winter months using a ceiling fan, you should go through the ceiling fan direction. It will be worth it.
Before you buy a Hunter ceiling fan light kit to mount onto your fan, the first thing to find out is that it is compatible with your fan.
Generally, you can make sure that the light kit is compatible with your model by going through the product description of the lighting fixture. The description will state that it is compatible with these models (numbers) etc.
If you find no details on the product, a description of the compatibility of the item, it is our recommendation to leave it and go for another one.
The light kits are available in bulk and it does make sense to do some research before you buy them right?
Installing a Hunter Ceiling Fan Light Kit – Step-by-Step Guide
- The main and first objective should be to make sure that electricity is turned off to the fan. the process does not only include the switching off the switch on the wall but also the main power breaker. Turn on or off the fan to ensure and double check that the power is gone.
- After that, inspect the housing assembly. Usually, it is not visible and hidden under the cover in the middle of fan. To expose the wiring, remove the middle plate and inspect the wires that you require. You need to find the white wire and black wire which are not attached to anything. Find a wire that is named lighting power. If both wires are available, you can get started.

The above pictures show the removal of the cover on our Hunter ceiling fan to inspect the wire colors we need.
- Step on a ladder, to begin with, the working, and pull the fan down. The task is simple and easier when it comes to pulling down a fan and working on it than to light kit installation with it hanging from the ceiling.
- After that, connect the lighting fixture wires first and to keep them in place, use the wire nuts. The white wire goes to the white wire and black to black.
- After connecting the wires successfully, you can attach the lighting kit physically to the fan.
- Once the light kit and the wires are connected physically, the next step is to re-attach the center plates if available as required and put back the screws in.
- If the light kit contains light bulbs, pull chains, or shades, you can complete the installation by fastening them too.
Are Hunter ceiling fan light kits interchangeable?
Hunter ceiling fans also have universal light kits and they sell them as universal. Hunter light kits are only interchangeable with Hunter ceiling fans because they are universal to their own ceiling fans.
What’s Next
Hunter Ceiling Fan Installation Instructions