If you’re experiencing issues with your Hunter ceiling fan remote 85095, or need to install it for the first time, this guide provides a detailed, step-by-step approach to pairing the remote with your Hunter ceiling fan. In addition, we’ll cover how to configure the jumpers on both the remote and the receiver, troubleshooting tips for common issues, and how to set up the remote holder for convenience.
1. Introduction to Hunter Fan Remote 85095
The Hunter 85095 remote control is designed to work with a variety of Hunter ceiling fans, providing speed control, light dimming, and fan direction options. When setting up the Hunter 85095 remote, you’ll need to pair it with the fan receiver and ensure the settings are correctly configured. If multiple fans are installed nearby, proper configuration of the code settings is essential to avoid interference.
In this guide, we’ll explain how to pair the Hunter 85095 remote, configure the code settings using jumpers, and troubleshoot common issues.
2. Preparing for Installation
Before starting, it’s essential to prepare both the remote and the fan for pairing. Here’s a list of what you’ll need:
Tools Required:
- Step Ladder: To safely reach the ceiling fan.
- Small Pliers or Tweezers: For adjusting jumpers on the transmitter and receiver.
- Phillips-head Screwdriver: For removing and securing fan components, like the canopy or mounting bracket.
Safety Precautions:
- Turn off power at the circuit breaker to avoid electrical hazards.
- Wear gloves and safety glasses when handling electrical components.
- Ensure you are working in a dry environment and the area around the fan is clear of any obstructions.
3. Understanding the Hunter 85095 Remote and Its Components
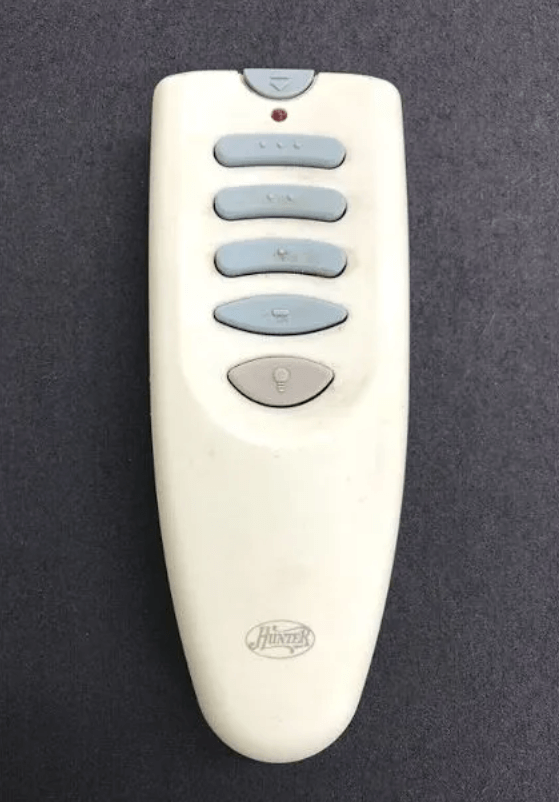
The Hunter 85095 remote includes the following key features:
- Multi-speed control: Adjust the fan speed (low, medium, high).
- Light control: Dim or brighten the fan light.
- Reverse control: Change the fan direction for summer or winter operation.
Additionally, the remote uses jumpers to assign unique codes between the transmitter and receiver, ensuring there is no interference from other nearby fans.
Components:
- Transmitter (Remote): Operates at 350 MHz.
- Receiver: Installed within the fan canopy.
- Battery: Requires a 12V, Type 23A battery.
4. Configuring the Code Settings for the Hunter 85095 Remote
One of the key steps when installing or replacing the Hunter 85095 remote is configuring the code settings to avoid interference between multiple fans. The jumpers in the transmitter and receiver need to be set to the same configuration.
Step 1: Accessing the Jumpers
- Transmitter (Remote): Open the battery compartment to access the three jumper switches inside.
- Receiver: The receiver is located in the fan’s switch housing. You may need to remove the receiver from the housing to access the jumper switches.
Step 2: Adjusting the Jumpers
- Using Small Pliers or Tweezers: Gently move the jumpers in both the transmitter and receiver to set the same code.
- Example Configuration: Both the transmitter and receiver should have their jumpers aligned (e.g., in the same “ON” or “OFF” position for each switch).
- Visual Guides: Refer to Figures 1 and 2 (included in the remote’s manual) to get a clear understanding of jumper positions.
Step 3: Reassembling the Receiver
- Receiver Placement: Once the jumpers are set, carefully replace the receiver inside the switch housing. Ensure that the mounting holes align with the receiver slots to prevent any misalignment.
- Secure with Screws: Tighten the screws to secure the receiver in place, ensuring the fan is correctly connected.
5. Pairing the Remote with the Receiver
Now that the jumpers are set, you can begin the pairing process.
Step 1: Turn the Power On
- Restore the power to your fan by turning on the circuit breaker.
Step 2: Activate Pairing Mode
- Press and hold the pairing button on the remote for about 3-5 seconds until you hear a beep or the fan light blinks to indicate successful pairing.
Step 3: Test the Remote
- Test the remote by adjusting the fan speed, light brightness, and fan direction. If the fan responds correctly, the pairing was successful.
6. Troubleshooting Common Pairing Issues
If the Hunter 85095 remote isn’t working properly, try these troubleshooting tips:
1. No Response from the Fan
- Check the battery: Replace the 12V 23A battery with a fresh one if it’s weak.
- Verify the Jumper Switch Settings: Ensure the transmitter and receiver have matching jumper switch settings.
2. Intermittent Operation
- RF Interference: Other electronic devices may interfere with the signal. Try moving the fan away from other electronics or turning off any devices that may cause interference.
3. Fan Light Not Working
- Ensure that the light bulb is properly installed and functional.
- Check the wiring to ensure the receiver is correctly connected to the light kit.
7. Installing the Hunter 85095 Remote Holder
The Hunter 85095 remote comes with a remote holder that allows you to attach it to an existing toggle switch wall plate or mount it on a wall. This ensures the remote is always accessible and prevents misplacement.
- Step 1: Attach the remote holder to the wall plate or mount on the wall.
- Step 2: Place the remote into the holder for easy access.
8. Conclusion
The Hunter 85095 remote is a powerful tool for controlling your Hunter ceiling fan and light. By following the pairing instructions, configuring the jumper settings correctly, and troubleshooting any issues, you can ensure smooth operation and optimal performance of your fan. For easy access, consider using the remote holder to keep your remote in a convenient location.
If you encounter any issues that cannot be resolved through these steps, consider reaching out to Hunter ceiling fans customer service for further assistance.
Leave a Reply