If you’ve recently purchased a Hunter Fan Remote 99600 or need to replace a malfunctioning one, you’ll need to pair it with your Hunter ceiling fan to restore full functionality. Pairing the remote with your fan ensures that you can control the fan speed, light, and fan direction seamlessly from a distance. In this guide, we’ll walk you through the entire process of pairing the Hunter Fan Remote 99600 with your ceiling fan, along with troubleshooting tips if the process doesn’t go smoothly.
1. Introduction
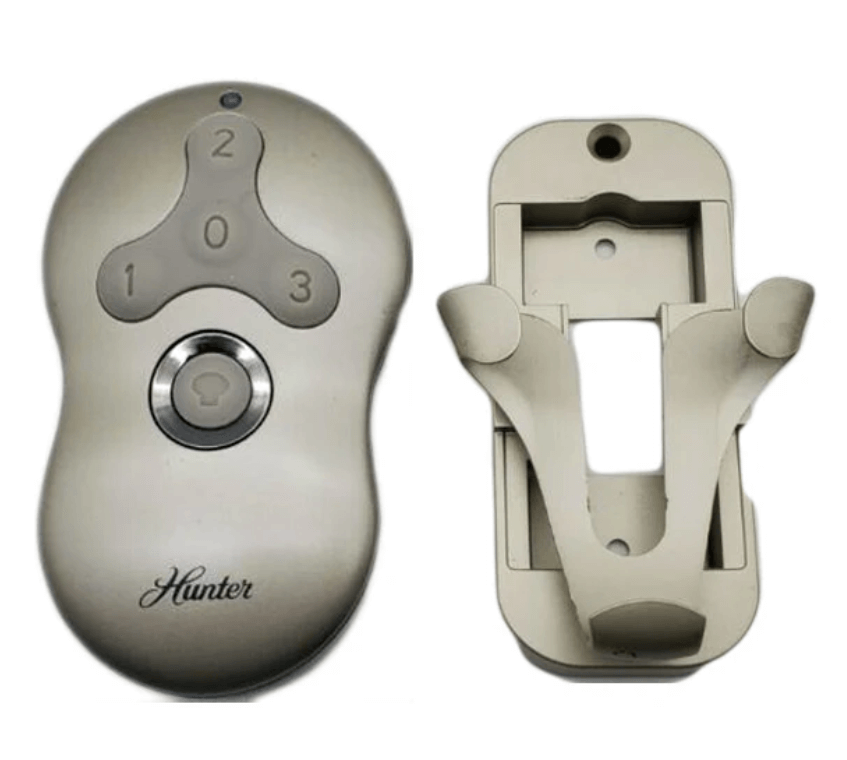
The Hunter Fan Remote 99600 is a universal remote control designed to work with various Hunter ceiling fan models. The remote allows you to adjust the fan speed, control the light dimming, and change the fan direction (summer or winter mode) — all with the press of a button. If your remote is unresponsive or you’ve replaced it, pairing it with your fan is a simple process. This article will guide you through the step-by-step instructions to ensure the remote is properly paired and functioning.
2. Tools and Safety Precautions
Before you begin the pairing process, make sure you have the necessary tools and take the necessary safety precautions.
Essential Tools:
- Step Ladder: To reach the ceiling fan if it’s installed at a height.
- Phillips-head Screwdriver: To remove the canopy or any coverings around the fan (if required).
- Voltage Tester (optional): For safety, you may want to confirm that the fan is completely powered off before starting.
Safety Precautions:
- Turn off the power at the wall switch or circuit breaker to avoid electrical shocks.
- Use a stable ladder to reach your fan safely.
- Wear gloves and safety glasses to protect yourself from potential injuries while handling electrical components.
3. Understanding the Hunter Fan Remote 99600
Before starting the pairing process, it’s helpful to understand the features of the Hunter Fan Remote 99600.
Features of the 99600 Remote:
- Multi-speed control: The remote has buttons to set the fan speed to low, medium, or high.
- Light control: You can adjust the brightness of the light using the remote.
- Fan direction control: You can reverse the fan’s direction for either cooling (summer) or circulation (winter).
- Compatibility: The Hunter Fan Remote 99600 is designed to work with most Hunter ceiling fans.
Battery Information:
- The Hunter Fan Remote 99600 uses a 12V 23A battery. Be sure to insert the battery properly with the correct polarity.
4. Step-by-Step Guide to Pairing the Hunter Fan Remote 99600
Here’s how you can pair your Hunter Fan Remote 99600 with your ceiling fan.
Step 1: Turn off the Power
- Switch off the power to your ceiling fan using the wall switch or the circuit breaker. This ensures your fan is not receiving power while you’re working on it.
Step 2: Wait for 10 Seconds
- Wait at least 10 seconds after turning off the power to make sure the fan is completely powered down.
Step 3: Turn the Power Back On
- Restore the power by switching the circuit breaker or wall switch back on.
Step 4: Pair the Remote with the Fan
- Within 3 minutes of restoring power, press and hold the “Pair” button on the Hunter Fan Remote 99600.
- You may need to press and hold the pairing button for 3-5 seconds until you hear a beep or the fan light blinks.
- Once paired, the fan will typically start operating at the lowest speed, and the light will blink 3 times before staying on.
- If the fan light blinks twice and turns off, the remote has unpaired the receiver.
Step 5: Test the Remote
- Use the remote to test the fan’s functionality:
- Adjust the fan speed (low, medium, high).
- Turn the light on or off and check the dimming functionality.
- Reverse the fan direction for winter or summer use.
5. Troubleshooting Common Pairing Issues
If your Hunter Fan Remote 99600 is not pairing or not working properly, try the following troubleshooting steps:
1. Remote Not Pairing
- Check the battery: Ensure the 12V 23A battery is inserted correctly, and it has enough charge.
- Reset the remote: If pairing doesn’t work, try turning off the fan power again, waiting for 10 seconds, and repeating the pairing steps.
- Check the Dip Switches: If your fan model has Dip switches, make sure they match the settings on the remote and receiver. Incorrect settings can prevent pairing.
2. Fan Not Responding to Remote
- Re-pair the remote: If the remote is not controlling the fan, follow the pairing process again. Double-check the connection between the remote and the receiver.
- Check for signal interference: Move other electronics away from the fan, as they might be causing interference with the signal.
3. Fan Light Not Responding
- Ensure the bulbs are correctly installed: Check that the light bulbs are inserted properly and are dimmable if using the dimming feature.
- Test the light: If the fan works but the light doesn’t, ensure the receiver controls the light properly and that the wiring is intact.
6. Conclusion
Pairing the Hunter Fan Remote 99600 with your ceiling fan is a simple process that enhances your fan control experience. By following the steps outlined above, you can restore full functionality to your Hunter ceiling fan. If you encounter any issues during the pairing process, refer to the troubleshooting tips or consult your fan’s manual for further assistance.
For more detailed information on Hunter fan parts or to purchase replacement parts, be sure to explore our Hunter Ceiling Fan Replacement Parts Guide.
Leave a Reply